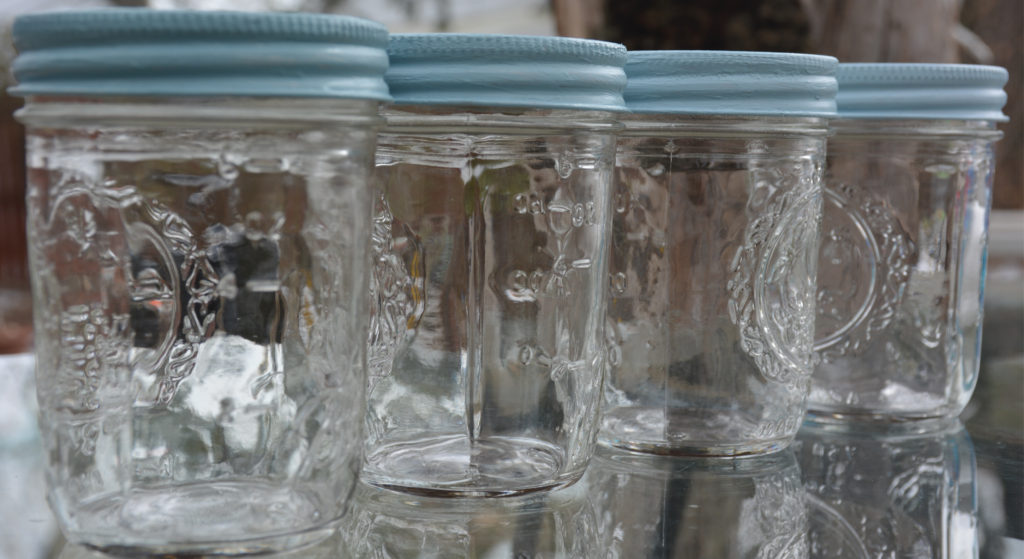
Start by separating your jars, lids, and bands.
The jars can just be put aside for now, we’ll only be painting the lids and bands. Make sure everything is clean and dry, especially if you’re repurposing old jars or using ones that have been sitting around for a while waiting for their crafty purpose [I’m totally guilty of this].
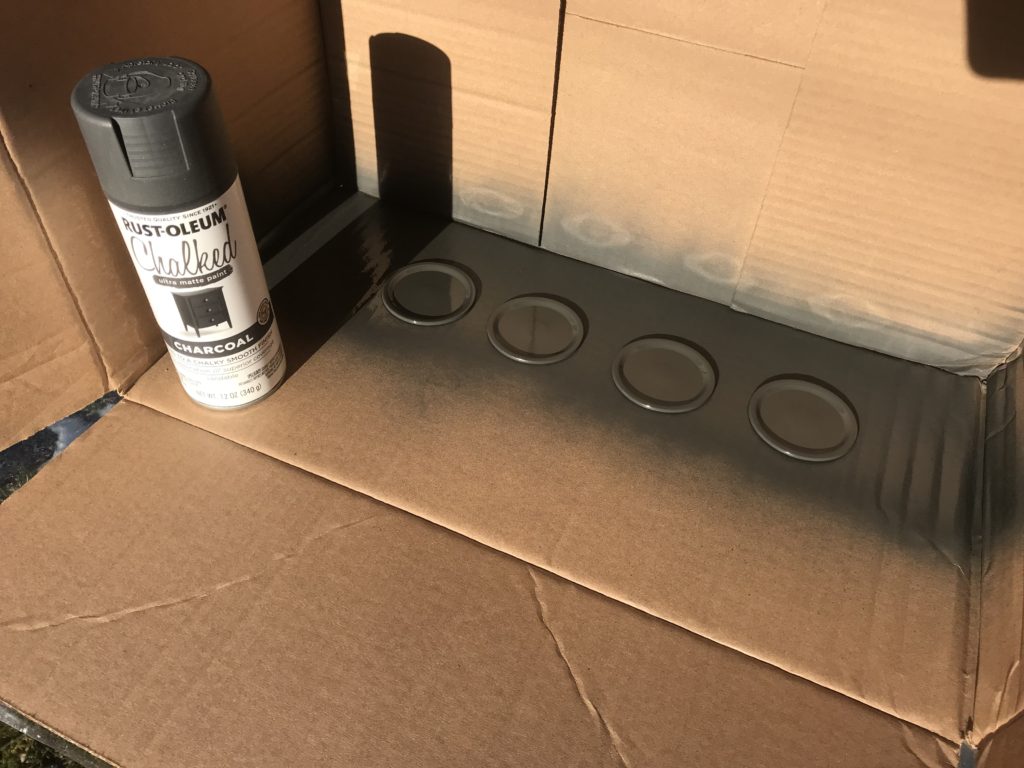
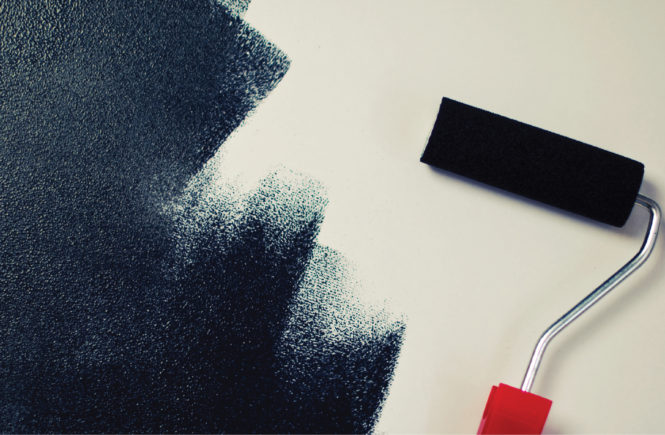
Spray painting makes it so easy to do the lids, so I started there. I lined them up in my new spray painting booth [aka cardboard box] and gave them a quick, even coat of chalk paint outside and left them to dry. I waited about half an hour and gave them a second coat for a better finish, but honestly they looked good even after only the first one.
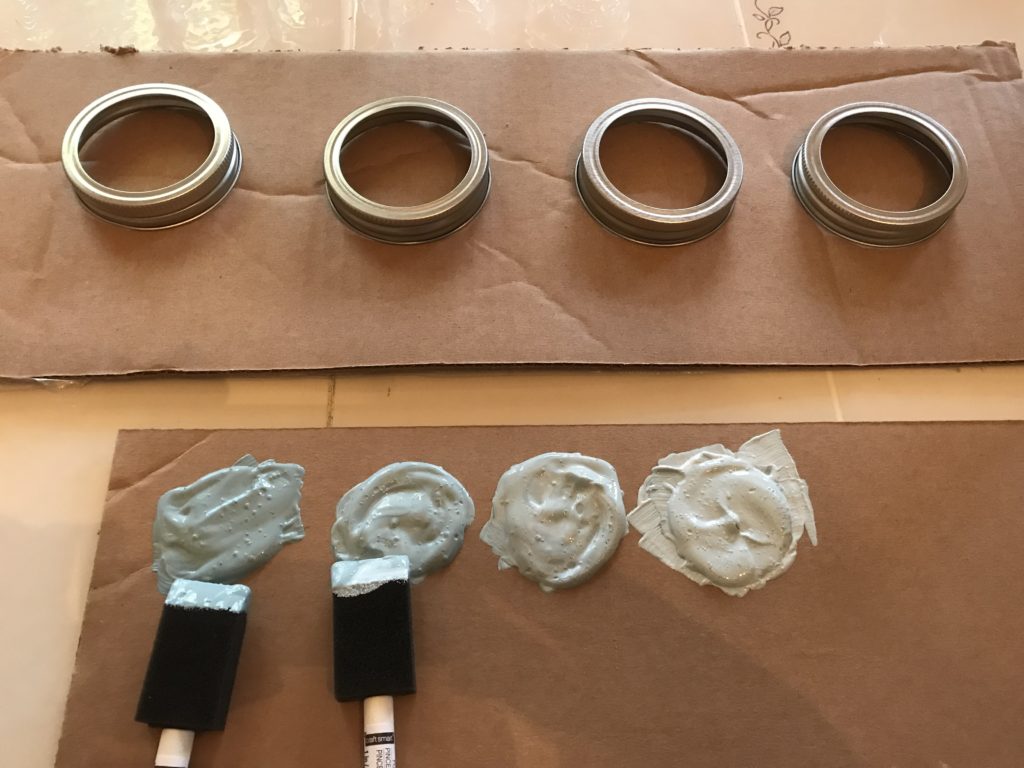
While the first coat on the lids was drying, I went back inside to start on the bands. I took some extra pieces of cardboard as my work surface and palette. Cardboard works surprisingly well as a palette, but you could also use some paper or whatever else you have lying around. As long as it’s sturdy enough that the paint wont seep through. My usual work surface is often newspaper too, but I just happen to have a lot of cardboard lying around with all of the stuff we’ve bought for the house.
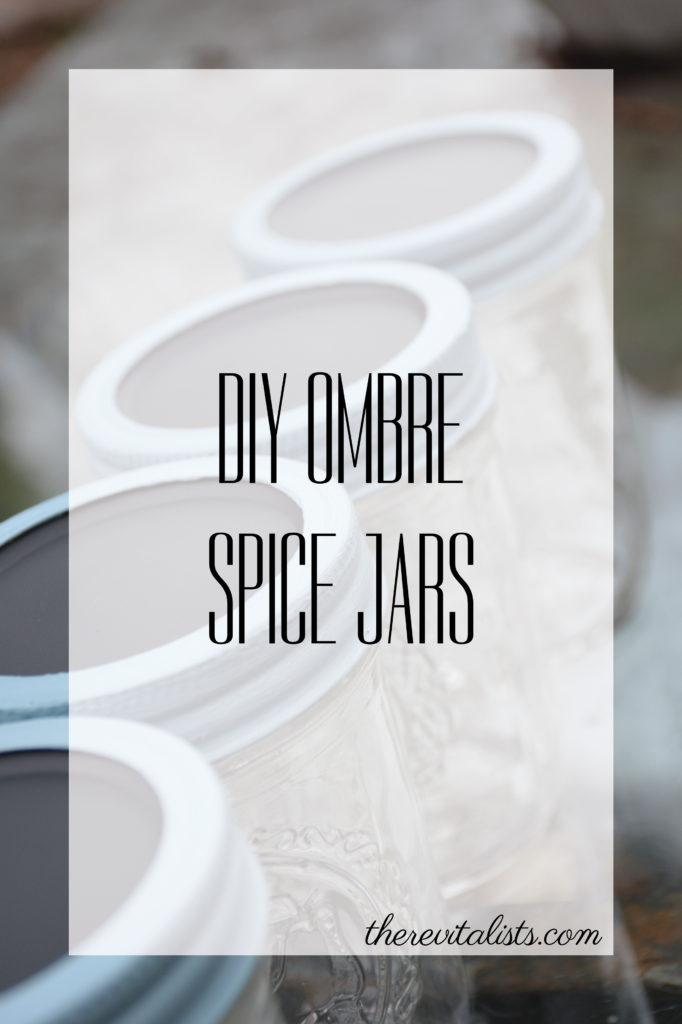
The Ombre
To make the ombre, start with 4 nickel-sized drops of paint in your color of choice. Add varying amounts of white paint to create different shades. For this four piece set, I was aiming for the darkest being 100% slate gray, the next about 75% slate gray/25% white, the next 50%/50%, and the last 25%/75%. This is not at all exact and doesn’t need to be! Play around with it and decide what looks good to you. I ended up adding a very small drop of white to the full slate gray because the difference felt a little too stark. This softened up the gradient a bit.
Paint your bands using the foam brushes. I’m still working on the best way to do this without making a complete mess. I found what worked best was to paint the sides first, while holding it up from the inside rim. Then, I placed it down and painted the top. I definitely painted my hand a few times in the process, but it turned out okay! The bands don’t tend too move around too much when painting the tops, so it worked out not having to touch the freshly painted sides.
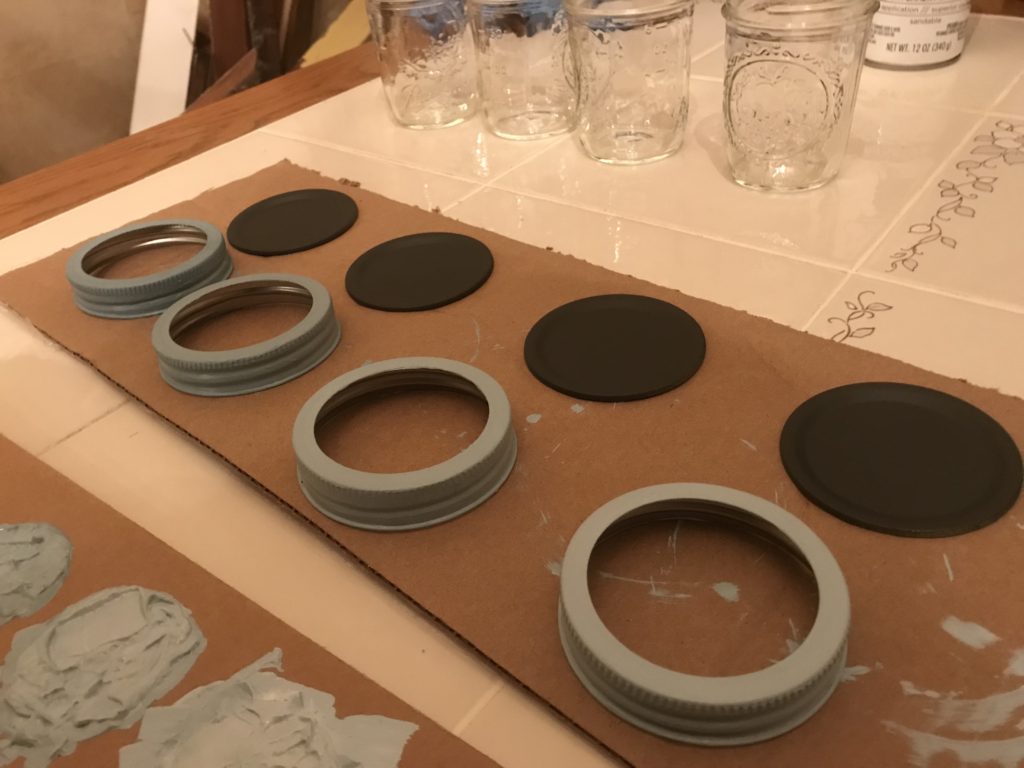
I let the first coat dry for about an hour, but check your paint to know how long you should wait between coats. While waiting, I went back to my lids and gave them their second coat of chalk paint. That only took a few minutes so I did some work around the house and then came back to paint the second coat on the bands. Let it dry, then check the finish to see if you want a third coat or not.
The Finishing Touch
Once you’re happy with the finish and they’ve had time to dry, give only the bands a coat of sealer. [You want to preserve the chalkboard finish on the lids.] Once it’s fully dry, prime the chalkboard finish on your lids with a small piece of chalk. Use chalkboard markers [such as these ] to write the names of the spices on each jar. To make accessing your spices easier, glue the lids to the bands. This way, you don’t have to remove them separately each time you want to use one of the spices.
And there you have it!
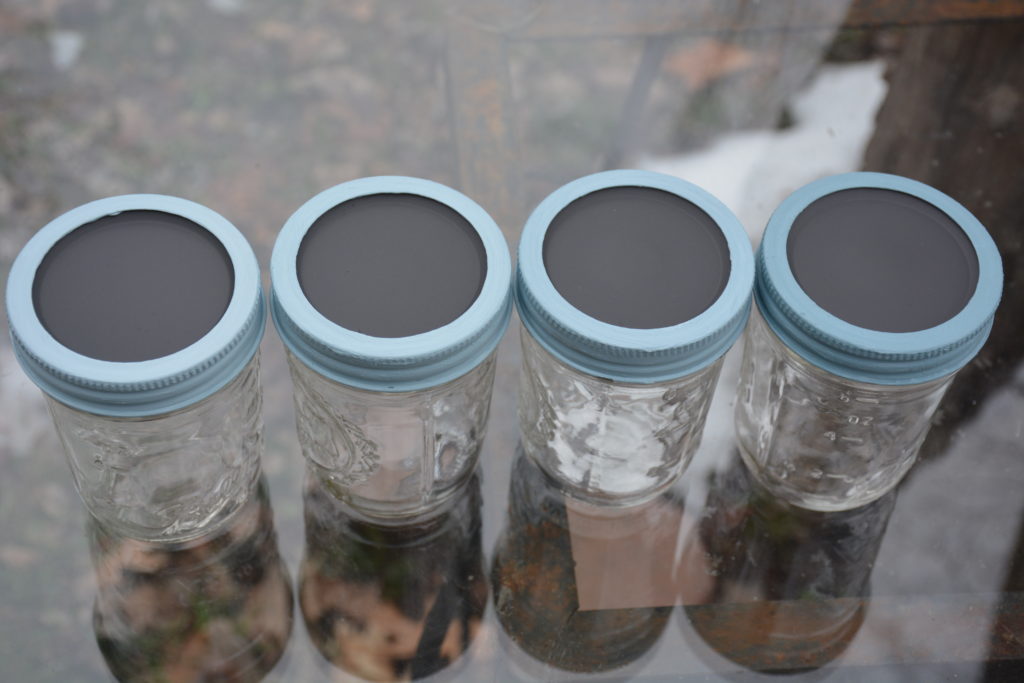
A cute set of ombre spice jars to keep all your spices nice and organized. Of course, you probably have more than 4 spices. I chose to do a 4 piece ombre and repeat it for the other jars, You could do the same or pull the ombre out more, doing a set of 6 or maybe even 8 depending on how dark your starting color is. Have fun with it and let me see what you do!
*Yes, there is a difference between chalk paint and chalkboard paint, however, I found so far that the chalk paint works just fine if you’re going to use chalk markers to write with. I’ll update if I find out any differently.
Don’t have time to craft these ombre spice jars, but want some organization? Sign up below to download these printable labels made to fit on your mason jar lids!


1 Comment
Like!! I blog quite often and I genuinely thank you for your information. The article has truly peaked my interest.