This post contains affiliate links. For more information, see my full disclosure policy.
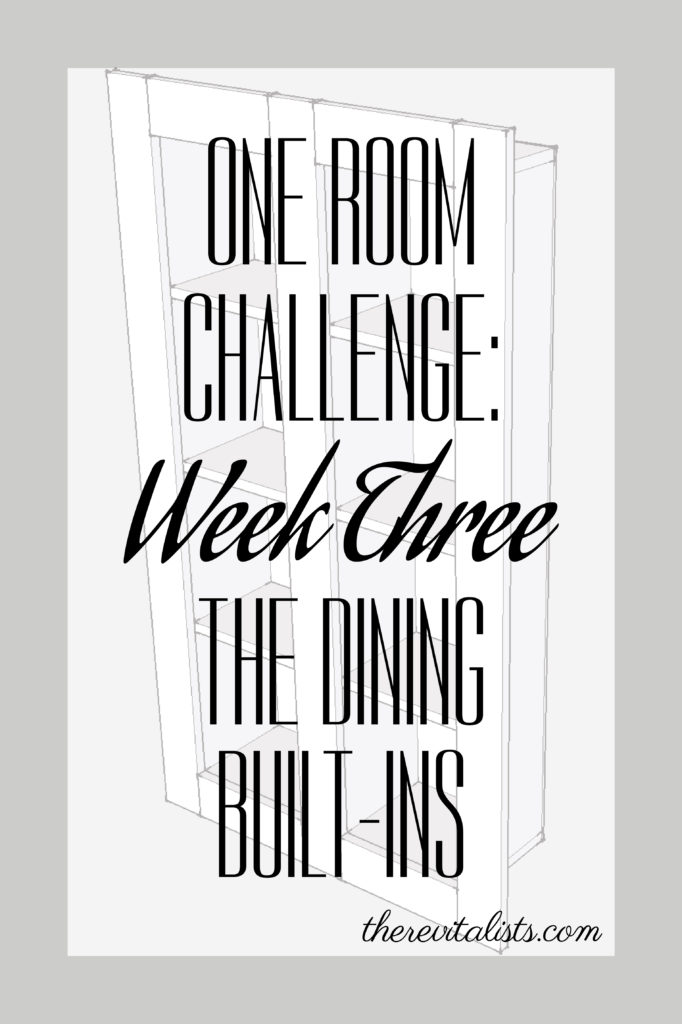
It’s the third week of the One Room Challenge!
If you’re new to the challenge, twice a year, in the spring and fall, 20 featured designers and hundreds of bloggers/instagrammers as guest participants take 6-weeks to redesign one room!
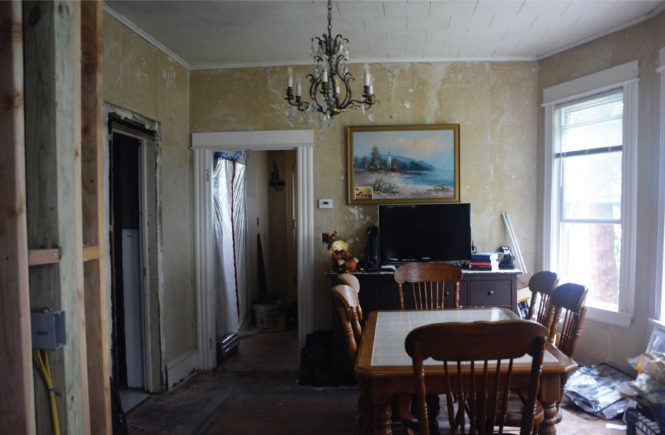
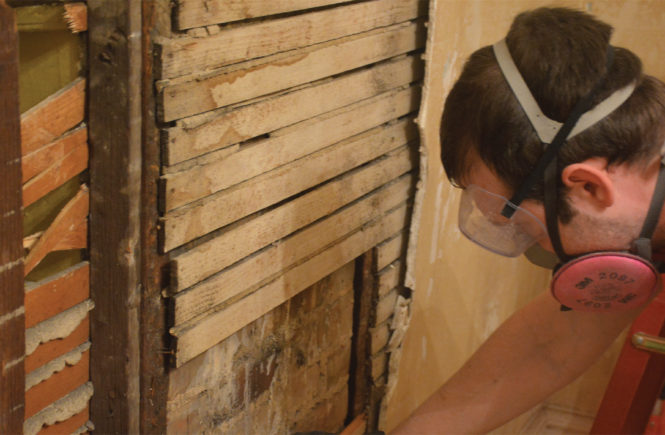
This past week involved getting the rest of the glue off of the walls, patching holes, and doing some last minute demo. One part of demo was to get that one opening up to the same height as the other one. The other part of demo was to make the space for the built-in shelves!
Since our chimney is right in the middle of the wall between the dining room and kitchen, there was room in the wall to make use of. Previously, there was a pantry in that wall [which we removed to make a wider opening and more counter space]. There’s also a bump out, which is where the refrigerator sat recessed with a small cabinet above. To improve the layout, we’re closing off that space and making it straight across in the kitchen. That way we can have a row of cabinets along that wall, along with the refrigerator.
With that being said, we now have a rather deep space that we don’t want to waste!
We can’t move that wall around without it getting expensive [load bearing wall]. Instead, we decided to use the space to do some built-ins. It would be nice to get the entire space open and create a bigger shelving unit, but since we can’t move the studs, we’ll work around them.
We’re restricted in the width, but since we have empty space behind the wall, we can make these shelves deeper than your usual between the studs built-ins. In reality, we could go about 16 inches deep with these shelves, but that just doesn’t look right and isn’t very functional.
I’ve decided on making them 9 1/4 inches deep. This way, I can use a standard 1 inch by 10 inch board. Also, they’ll be deep enough to fit books if I chose to use them as a book shelf [which I’m leaning towards].
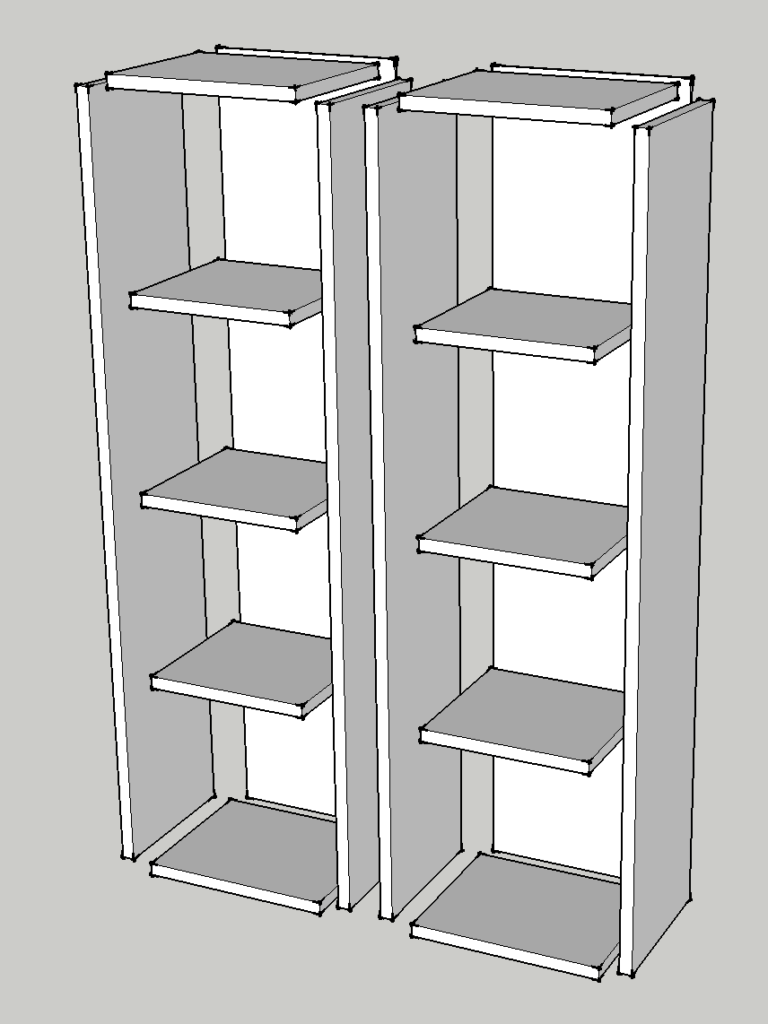
I’ve laid out below our plans for these built-ins. We haven’t built them yet, so our plans may change. I’ll update if I need to!
All measurements below are for the built-ins that fit my space. If you want to follow these plans, you may have to adjust for your space.
Materials you’ll need:
1″ x 4″ pre-primed lumber
1″ x 10″ pre-primed lumber
1/4″ plywood
Wood glue
Wood putty
Paint
Nails
Screws
Tools you’ll need:
Miter or chop saw (Find the one we have here.)
Brad nailer
Clamps
Power Drill
Cuts to make:
To make the same size shelving unit as mine, you’ll need to make the following cuts (adjust to fit your space as needed):
The 1″ x 10″ boards make up the frame of the box and will be cut into 3 sizes. You’ll cut 6 pieces at 10″, 4 pieces at 11 1/2″, and 4 pieces at 3′ 10 1/2″.
The 1″ x 4″ boards will be used as trim and cut into 2 sizes. You’ll cut 3 pieces at 4′ 5 1/2″ and 4 pieces at 10″.
The 1/4″ plywood will cut into 2 pieces of 11 1/2″ by 4′.
Assemble the built-ins:
To assemble the built-ins, start with the box frame for the shelves using the 1″ x 10″ boards. You’ll have 2 identical units to assemble for either side of the stud, which will then be attached by the trim.
Begin by arranging all of your cut pieces using the below image as a guide. The 11 1/2″ pieces will make up the top and bottom of each unit, while the 3′ 10 1/2″ boards make up the sides. The 10″ pieces will be used as shelves.
Mark the spacing for your shelves on both side pieces. I chose to space them evenly, but you may chose differently depending on your needs. Whatever you choose, keep in mind the thickness of the shelves will be 3/4″.
Glue the top board to one of the sides. Note: the side pieces should sit inside the top and bottom piece, so that the overall width of the unit is 11 1/2″ and the height is 4′.
Next, glue the shelves to the same side along your marks.
Glue the other side to the top and each of the shelves.
Glue the bottom piece in place.
Clamp all joints and allow glue to dry.
Glue the plywood to the back of the unit.
Use the brad nailer to secure all joints.
Repeat for the second unit.
Next step is the trim.
Align the trim pieces to the units using the image as a guide. The trim should lay flush with the inside of each box frame.
Start with one of the 4′ 5 1/2″ 1″ x 4″ boards. This will be the middle piece of trim that determines the spacing of the units to each other.
Align the left and right edges with the left and right inside edges of the respective units and center it vertically along the units and glue into place.
For each unit, align one 10″ board with the inside top edge and flush to the middle trim board.
Repeat for the bottom edge.
Next, align the other 4′ 5 1/2″ board with the inside edge and the 10″ boards. Glue all pieces in place once properly aligned.
Clamp as needed and let the glue dry. Finish by securing the joints with the brad nailer.
Cover any visible nail holes with the wood putty.

The entire unit can be installed in the wall as one.
Before you install it, make sure you have enough support inside the wall, you may need to add in additional 2 x 4s. Secure the unit to the existing studs with screws [I suggest drilling pilot holes into the unit beforehand.]
And there you have it, one functional use of leftover space. I can’t wait to start building it! I hope you’ll check back in next week!
Don’t forget to also follow along with our daily progress on Instagram and check back next Thursday to see our progress!
Week One | Week Two | Week Four | Week Five | Week Six