This post contains affiliate links. For more information, see my full disclosure policy.
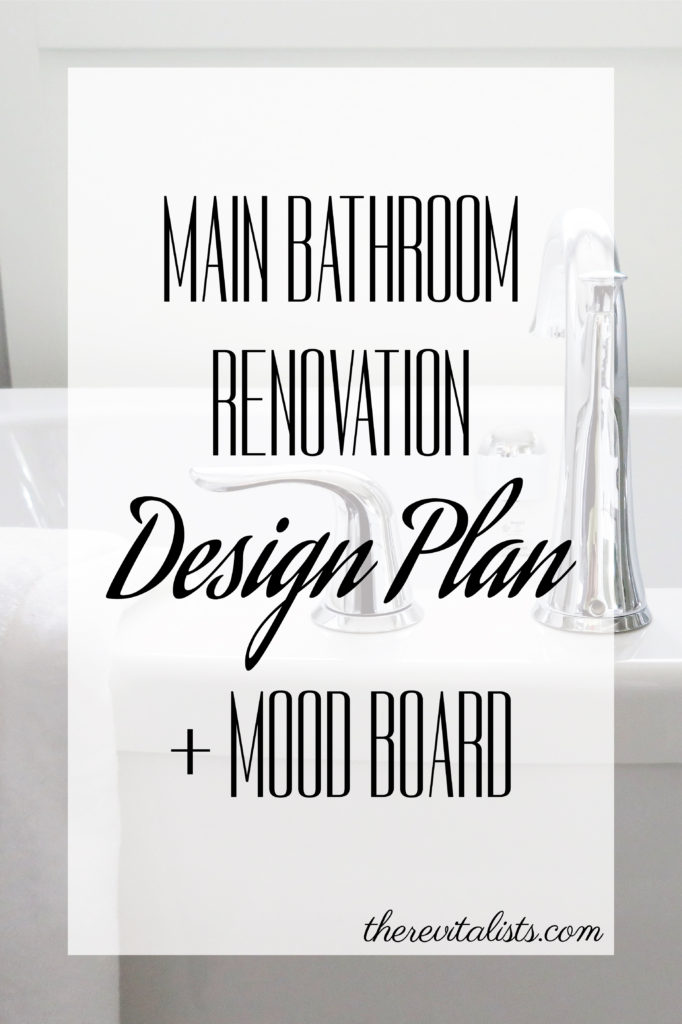
Now that we’re getting into May, it’s nice to finally see that the main bathroom renovation is coming to a close! It’s been a long process and we still have a lot to do. But we’ve learned a ton along the way, sometimes the hard way.
It’s also surreal approaching the end of the main bathroom renovation. It feels like we’ve been working on this bathroom FOREVER. But it’s so rewarding see the vision come to life!
I wanted to share the progress we’ve made as well as the design plan I have for this main bathroom renovation!
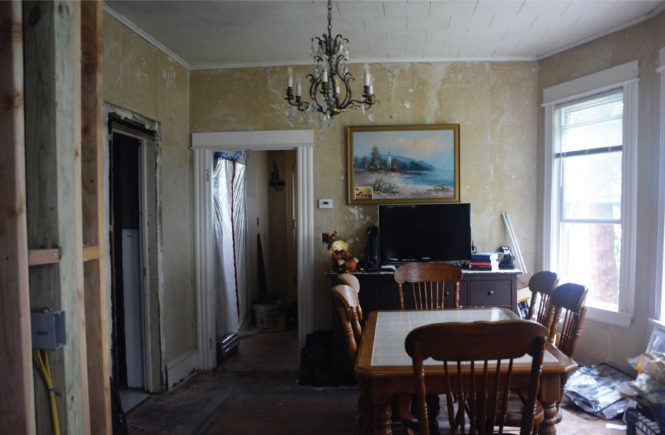
I started designing the plan for the bathroom as soon as we walked the house. The bathroom was cramped. While the size of the bathroom was actually not bad, the floor plan was horrible. There were two entrances into the bathroom, which took up a lot of space (& is a huge pet peeve of mine), as well as a closet sticking in from another room.
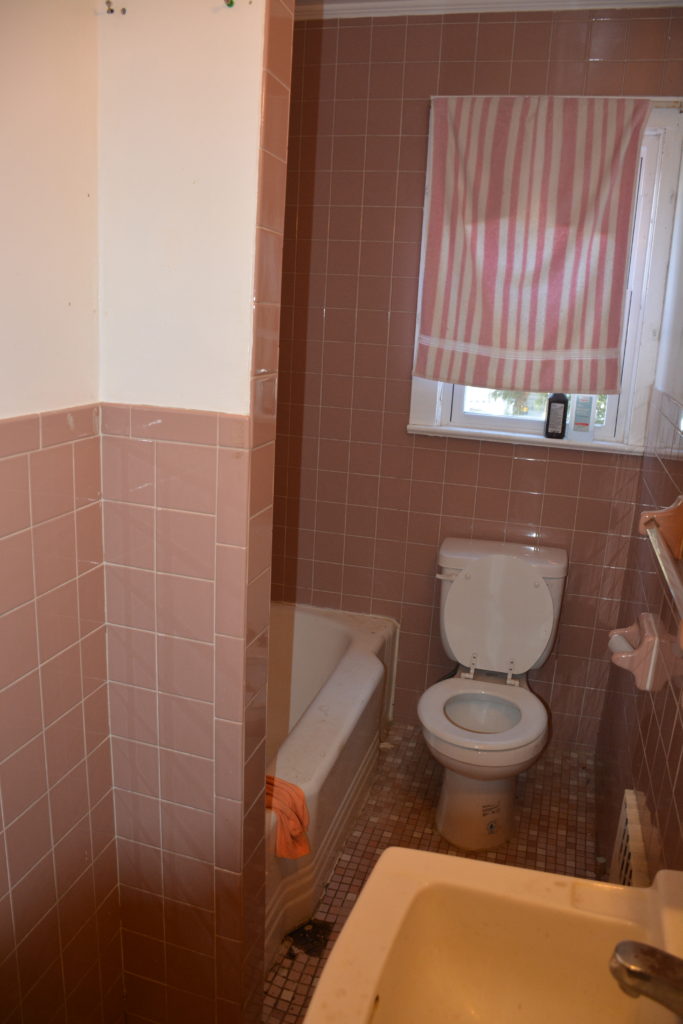
This is me, standing in between the two doors to my left and right and I’m as back as far as I can be. Cramped.
The biggest change was rearranging and simplifying the layout.
There were a lot of small closets in this house originally. Most weren’t functional, so we decided to get rid of 2 of them and reorient another. We removed the closet that was sticking into the bathroom, and on the other side of one of the walls, there were 2 more closets. We took out the wall between the one closet and the bathroom, to make it the new entryway. Then we took the closet that was originally opening into the bedroom, and opened it into the bathroom instead, to make it our new linen closet.
Next step was moving the tub from the side wall to the far outside wall and switching the location of the heater to the opposite wall. This opened up space to put the vanity and toilet on the bedroom side wall, tucked beside the new linen closet. The bathroom no longer feels cramped (and we only added about 15 square feet to the space).
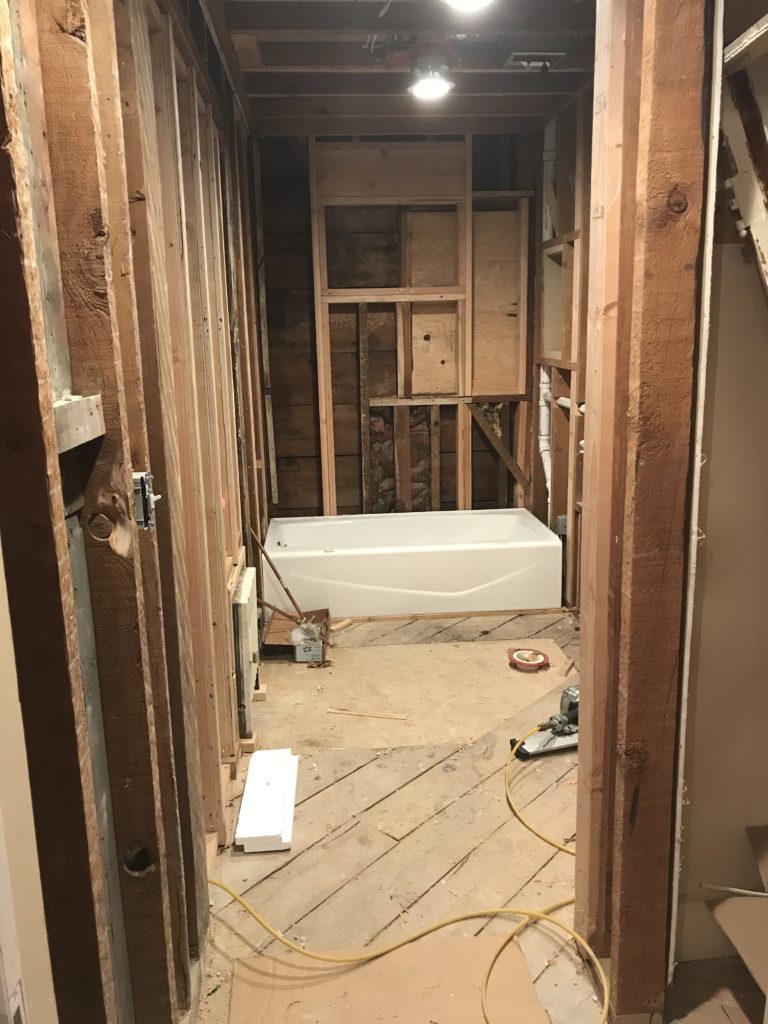
The new layout, from the entryway. You can see the drain for the toilet and the vanity will be tucked beside the linen closet to the right. The original bathroom ended at the far edge of the closet.
The next fun part was designing the finishes!
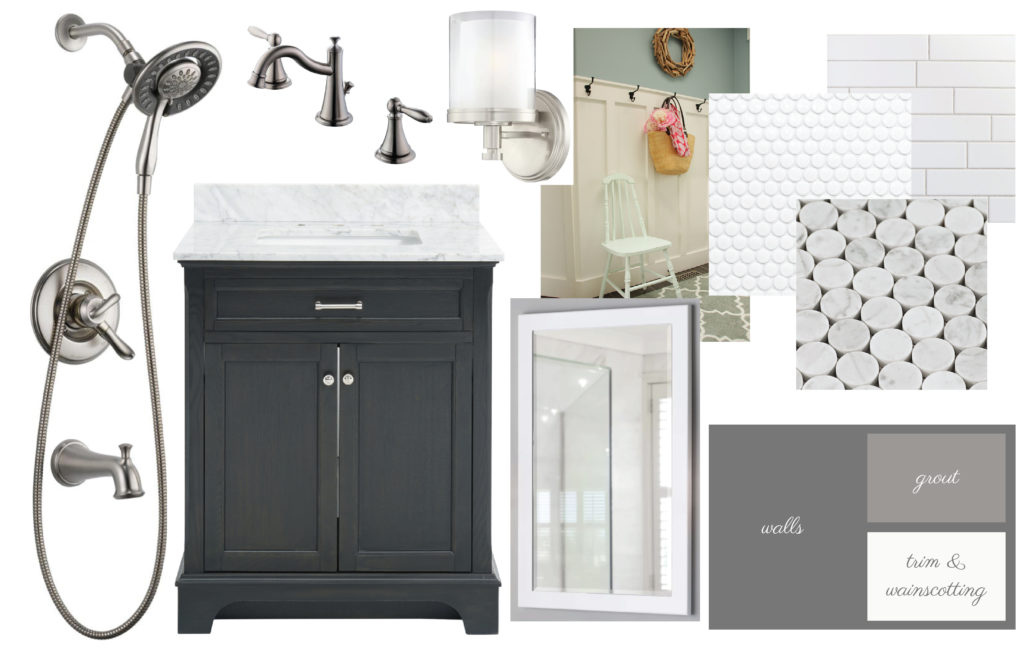
The overall color scheme of the house will be based on white and grey hues. We want to keep the palette neutral so future tenants can add their own style to the house later on with décor. I also prefer the grey as a base color. It makes it easy for me to change up the style later if I want to without having to repaint.
We are using 3×12 white subway tile for the shower walls in a running bond pattern. We’ll use the same tile in our kitchen as well, but maybe with a different pattern. We decided not to extend the wall tile into the rest of the bathroom. Instead we’re going to DIY a board and batten wainscoting painted white, just like in this post on the Home Depot Blog. The walls above the wainscoting will be a darker gray, similar to Iron Mountain by Behr. Although, we haven’t made a final decision on the paint color yet.
I love that this main bathroom renovation gave me the opportunity to add a niche into the shower. We’re using a marble penny round mosaic tile as an accent in the shower niche, with a marble tile shelf. The floor is a white porcelain penny round tile. All of the tile will have a medium grey grout to add some contrast to the white tile.
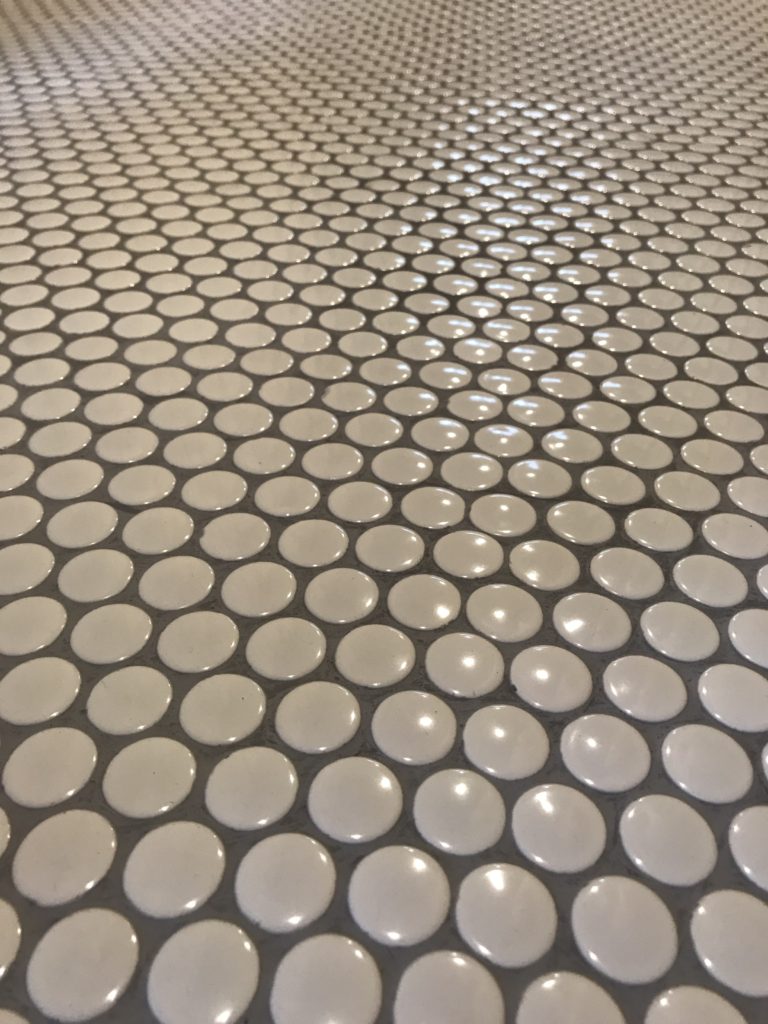
Our [mostly] finished floor. This was before we cleaned it up, sealed, and covered it.
Jason actually found our dark gray, marble top vanity at Habitat for Humanity, but the same one is sold at Lowe’s. The only part that’s missing from ours is the backsplash. I love that it has roll out drawers beneath the sink, instead of just the cabinet. Built in organization! Our sink faucet and shower fixture will be matching in a brushed nickel finish.
I haven’t decided on the exact mirror I will be using for above the vanity, but I’m leaning towards a simple rectangular mirror with a white frame. Something like this one. I’ve decided on two side vanity lights instead of one downlight above the mirror. The finish on these lights matches the faucet finishes and gives off a nice soft light.
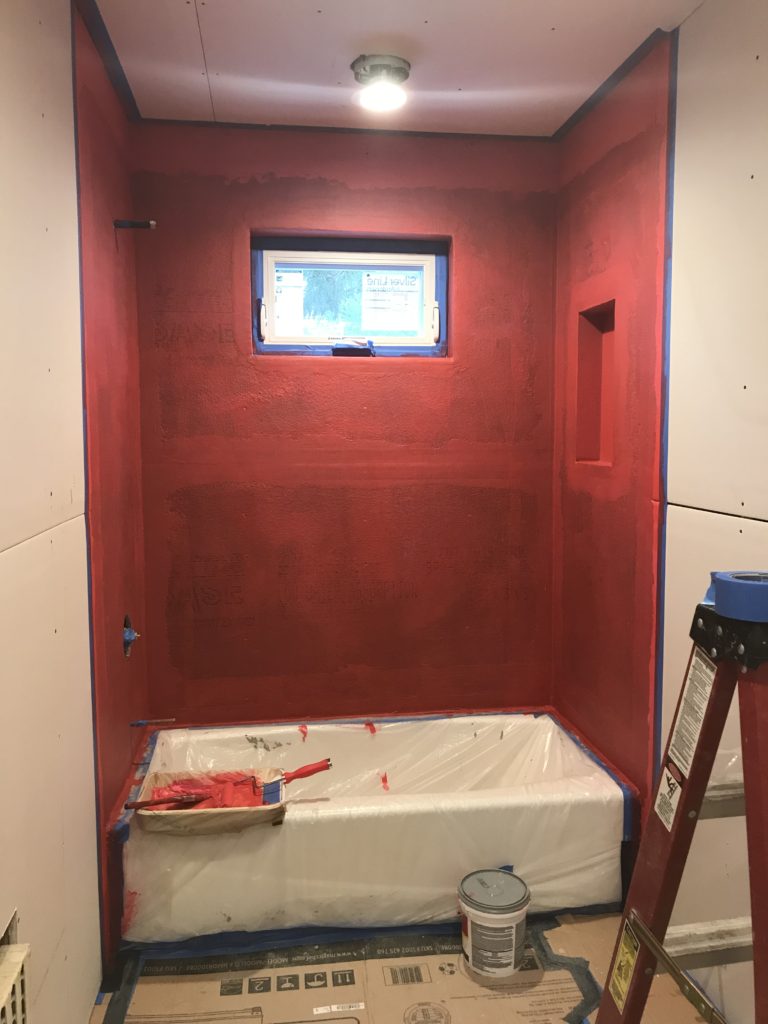
The shower area prepped for tile. This waterproofing membrane is RedGard, it goes on pink and dries red.
I’m so excited to get this project DONE!
We just finished painting on the water proofing membrane yesterday. I have a bunch of measurements to make today in order to prepare to tile our shower tomorrow! After we set the tile, we’ll start spackling the walls and get them ready to paint. Then it’s time to install fixtures and we’ll have a working bathroom!